
在Proxmox VE上运行龙芯loongarch虚拟机
loongarch已经进入了Qemu,所以只要编译Qemu用qemu-system-loongarch64 就可以运行。但是Proxmox的Qemu只编译了x86和aarch,所以我们需要重新编译一下。
可以参考文章:佛西博客 - 从0开始编译Proxmox VE (buduanwang.vip)的教程,重新编译pve-qemu。
编译Qemu时指定的target在debian/rules 文件中。
${BUILDDIR}/config.status: configure
        dh_testdir
        # Add here commands to configure the package.

        # guest-agent is only required for guest systems
        ./configure \
        --with-git-submodules=ignore \
        --docdir=/usr/share/doc/pve-qemu-kvm \
        --localstatedir=/var \
        --prefix=/usr \
        --sysconfdir=/etc \
        --target-list=$(ARCH)-softmmu,aarch64-softmmu \  删除这一行
        --with-suffix="kvm" \
        --with-pkgversion="${DEB_SOURCE}_${DEB_VERSION_UPSTREAM_REVISION}" \
        --audio-drv-list="alsa" \
        --datadir=/usr/share \
        --libexecdir=/usr/lib/kvm \
--disable-capstone \或者加入loongarch64-softmmu
${BUILDDIR}/config.status: configure
        dh_testdir
        # Add here commands to configure the package.

        # guest-agent is only required for guest systems
        ./configure \
        --with-git-submodules=ignore \
        --docdir=/usr/share/doc/pve-qemu-kvm \
        --localstatedir=/var \
        --prefix=/usr \
        --sysconfdir=/etc \
        --target-list=$(ARCH)-softmmu,aarch64-softmmu,loongarch64-softmmu \
        --with-suffix="kvm" \
        --with-pkgversion="${DEB_SOURCE}_${DEB_VERSION_UPSTREAM_REVISION}" \
        --audio-drv-list="alsa" \
        --datadir=/usr/share \
        --libexecdir=/usr/lib/kvm \
同样可以博主预编译的deb包
wget https://mirrors.apqa.cn/proxmox-edge/pve-qemu-kvm_7.2.0-4_amd64.deb
dpkg -i pve-qemu-kvm_7.2.0-4_amd64.deb
#可能有些依赖包缺失,安装即可。
apt install -f -y之后,你可以验证qemu-system-loongarch64版本
root@pve4:~# qemu-system-loongarch64 --version
QEMU emulator version 7.2.0 (pve-qemu-kvm_7.2.0-2)
Copyright (c) 2003-2022 Fabrice Bellard and the QEMU Project developers
下载龙芯虚拟机bios到kvm目录
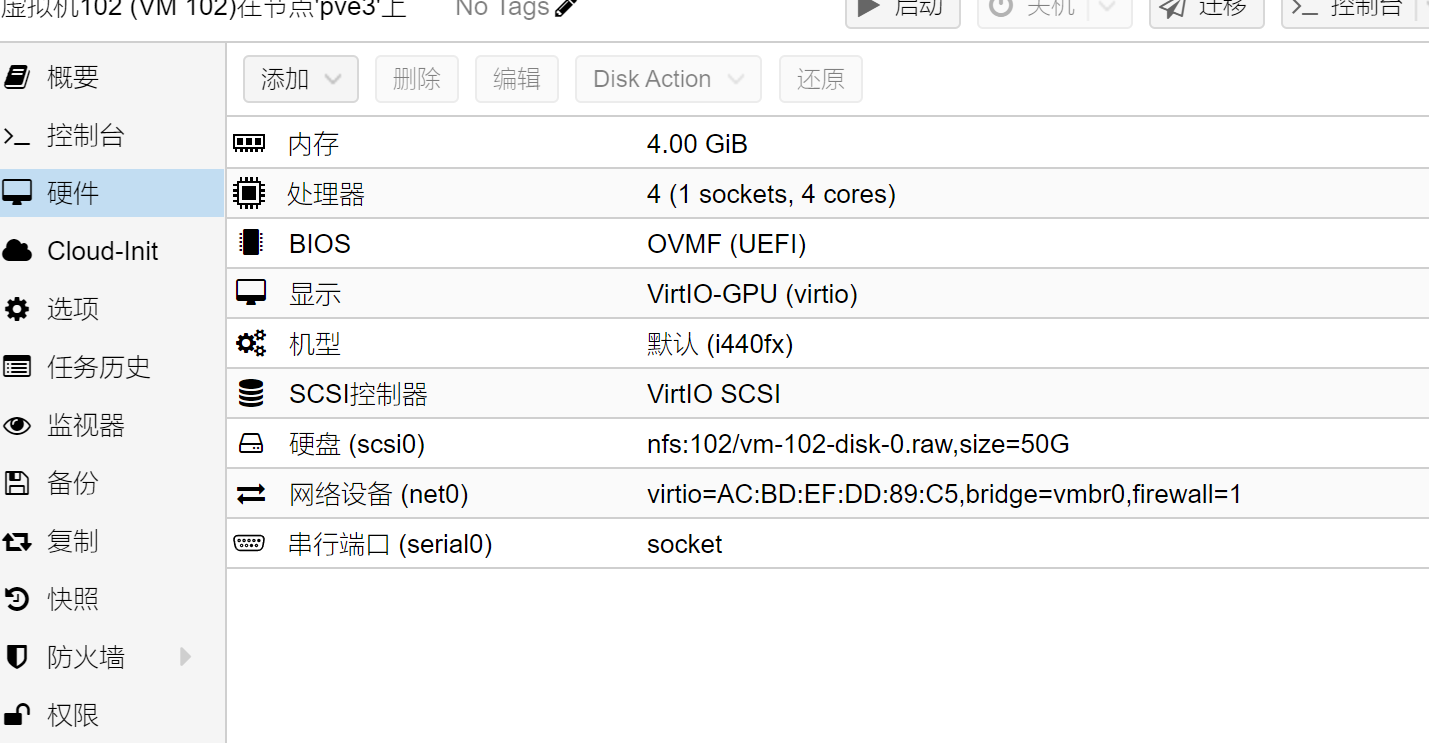
wget -P /usr/share/kvm/ https://mirrors.wsyu.edu.cn/loongarch/2022.09/images/QEMU_EFI_7.2.fd创建一个普通的虚拟机,磁盘需要scsi,磁盘控制器选择virtio-scsi,如果对KVM不了解,请严格如图所示。龙芯CPU最大为4个,所以最多选4核。内存随意。
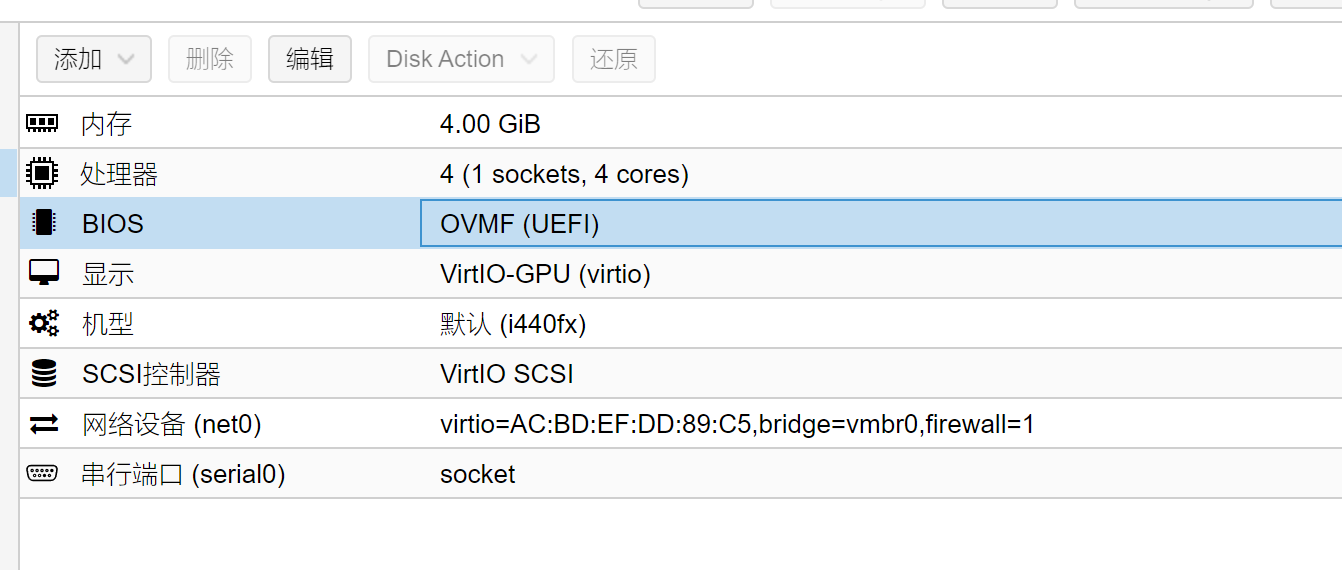
下载龙芯qcow2镜像
wget -P /root https://mirrors.wsyu.edu.cn/loongarch/2022.09/images/archlinux-mate-2022.12.03-loong64.qcow2下载之后,使用qm importdisk导入虚拟机参考:佛西博客 - pve为vm导入已有的磁盘镜像/qcow2/vmdk (buduanwang.vip)
注意,设置好了之后,还要给虚拟机启动选项,设置成scsi0启动

随后将Arch设置成aarch64,如果是arm版本pve则不用再设置了。
qm set 你的虚拟机id -arch aarch64
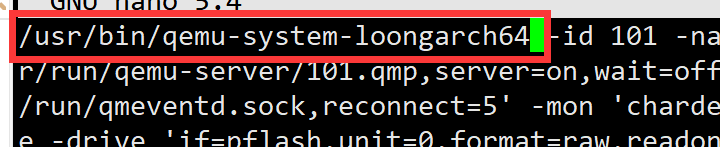
将虚拟机的qemu cmdline导出来
qm showcmd 你的虚拟id >loongarch64.kvm
启动nano的自动换行
echo "set softwrap" >> /etc/nanorc
使用编辑器编辑
nano loongarch64.kvm
把/usr/bin/kvm 替换成/usr/bin/qemu-system-loongarch64
删除smbios和2个bios字段,如下面所示的白色选中部分。

确保没有-cpu 选项。如下面有个-cpu,确保没有。

在末尾添加一个选项
-bios QEMU_EFI_7.2.fd
此时保存文件,然后执行命令
bash loongarch64.kvm 不出意外将会启动龙芯的虚拟机
为什么要使用这种方式?因为Proxmox并没有对龙芯做适配,所以必须要手动修改他的qemu启动命令行。不能在网页上或者用qm命令,直接启动。
作者:佛西
链接:https://foxi.buduanwang.vip/virtualization/pve/2221.html/
文章版权归作者所有,未经允许请勿转载
如需获得支持,请点击网页右上角
y