Proxmox VE基于debian,因此可以从debian系统安装Proxmox VE。而官方也提供了相关教程,如下:
- https://pve.proxmox.com/wiki/Install_Proxmox_VE_on_Debian_11_Bullseye // Promxox 7
- https://pve.proxmox.com/wiki/Install_Proxmox_VE_on_Debian_Buster // Promxox 6
- https://pve.proxmox.com/wiki/Install_Proxmox_VE_on_Debian_Stretch // Promxox 5
- https://pve.proxmox.com/wiki/Install_Proxmox_VE_on_Debian_Jessie // Promxox 4
- https://pve.proxmox.com/wiki/Install_Proxmox_VE_on_Debian_Wheezy // Promxox 3
- https://pve.proxmox.com/wiki/Install_Proxmox_VE_on_Debian_Squeeze // Promxox 2
本文以debian11 安装Proxmox VE 7为例,给大家讲解如何从debian安装Proxmox VE。
一:环境准备
需要准备一些软硬件环境。
硬件:
- CPU开启虚拟化
- 开启VT-D(可选)
- 有网络
软件:
- debian11发行版(可桌面,可以服务器版)
- 国内软件源
还需要一些人为因素
- 仔细看教程
此教程请使用root用户身份运行,而不要使用sudo。如果你是sudo用户,请使用此命令切换到root。
sudo -i
如果没有配置root密码,请使用passwd root 修改root密码
二:配置debian源
需要将debian源换成国内源,否则会由于网络超时,无法安装软件包。
删除现在软件源
rm /etc/apt/sources.list
新建软件源
nano /etc/apt/sources.list 并将下面内容填进去
清华源
deb http://mirrors.tuna.tsinghua.edu.cn/debian/ bullseye main contrib non-free
deb http://mirrors.tuna.tsinghua.edu.cn/debian/ bullseye-updates main contrib non-free
deb http://mirrors.tuna.tsinghua.edu.cn/debian/ bullseye-backports main contrib non-free
deb http://mirrors.tuna.tsinghua.edu.cn/debian-security bullseye-security main contrib non-free
deb https://mirrors.tuna.tsinghua.edu.cn/proxmox/debian bullseye pve-no-subscription
中科大源
deb http://mirrors.ustc.edu.cn/debian/ bullseye main contrib non-free
deb http://mirrors.ustc.edu.cn/debian/ bullseye-updates main contrib non-free
deb http://mirrors.ustc.edu.cn/debian/ bullseye-backports main contrib non-free
deb http://mirrors.ustc.edu.cn/debian-security bullseye-security main contrib
deb http://mirrors.ustc.edu.cn/proxmox/debian bullseye pve-no-subscription
最后按ctrl +x 保存
可以执行下面命令验证
cat /etc/apt/sources.list
安装一些工具
apt update && apt install -y apt-transport-https wget
安装gpg秘钥
wget https://enterprise.proxmox.com/debian/proxmox-release-bullseye.gpg -O /etc/apt/trusted.gpg.d/proxmox-release-bullseye.gpg三:安装SSH
apt update && apt install -y openssh-server
安装ssh之后,需要启用密码登录和root访问。
参考下面文章
https://blog.csdn.net/baidu_38172402/article/details/88677290
修改之后,执行命令重启ssh服务
systemctl restart sshd
四:配置静态ip
由于某些debian使用的是nmcli,还需要停用NetworkManager服务
systemctl disable NetworkManager && systemctl stop NetworkManager
删除其他的文件
rm /etc/network/interfaces.d/*
编辑网卡配置文件
nano /etc/network/interfaces
添加如下参数
auto enp6s18
iface enp6s18 inet static
      address 10.13.14.112/24
gateway 10.13.14.254请自觉将enp6s18换成自己的网卡。把ip换成自己的ip(可以通过命令ip a 查看自己的网卡名)
配置dns
echo "nameserver 223.5.5.5" >>/etc/resolv.conf
重启网络服务
systemctl restart networking
安装ifupdown2
apt update && apt install -y ifupdown2五:配置host
pve服务需要host文件正确,否则会出现无法启动的问题。
这是原本的host文件
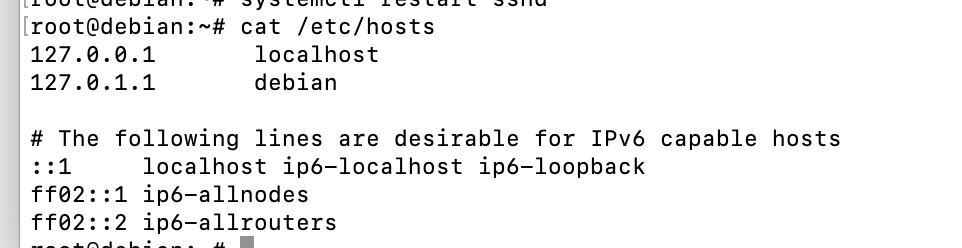
从上面的文件,可以看出主机hostname为debian,这很关键。
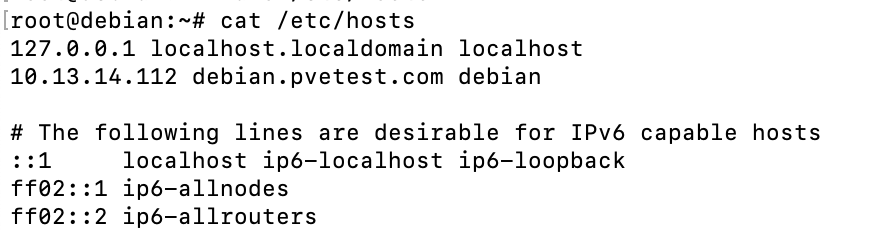
我们将# The following lines are desirable for IPv6 capable hosts 这上面的部分改成如下:
127.0.0.1 localhost.localdomain localhost
10.13.14.112 debian.pvetest.com debian
10.13.14.112 debian.pvetest.com debian 这段结构是ip fqdn hostname
fqdn就是域名全称。例如www.baidu.com。www则代表主机名,baidu.com是域名,fqdn是www.baidu.com
fqdn可以自己取,如果你不懂,你就按照我这个来填。但是你必须将debian换成自己的hostname。这个hostname将作为PVE的节点名称。
也请自己将ip换成自己的ip,这个ip是dhcp的也没关系。最终结果如
五:安装Proxmox VE
使用正确的path
export PATH=/usr/local/sbin:/usr/local/bin:/usr/sbin:/usr/bin:/sbin:/bin
安装Proxmox VE
apt update && apt install -y proxmox-ve postfix open-iscsi
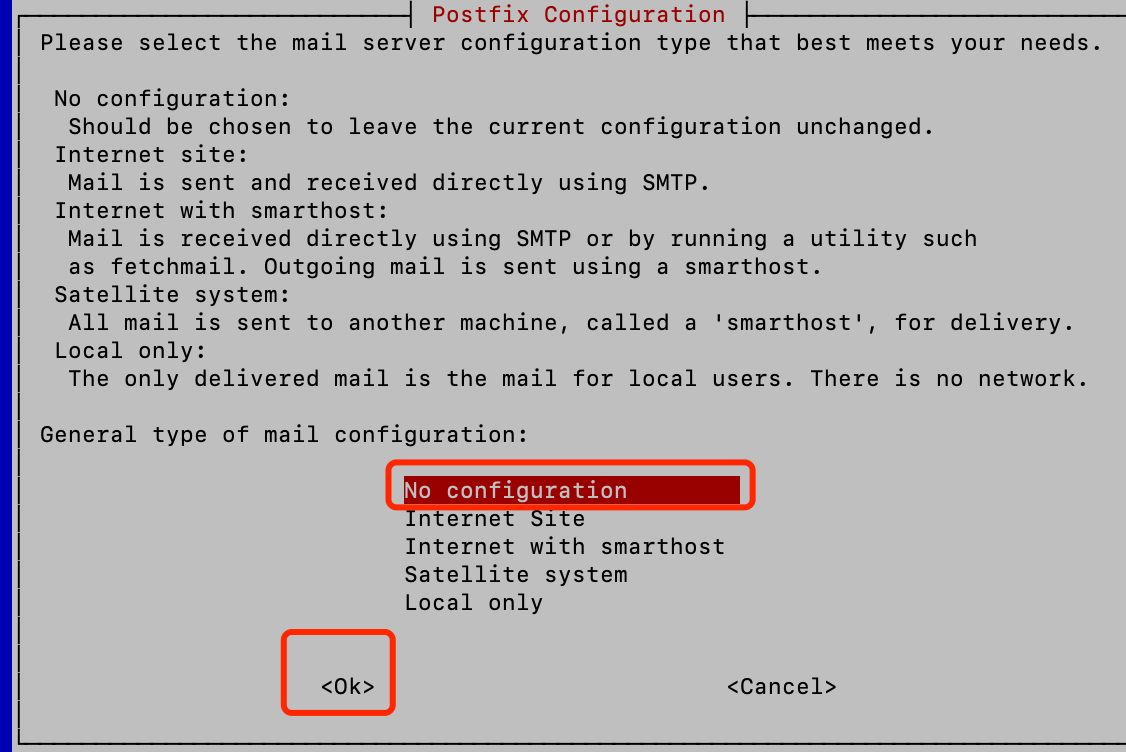
无交互,无推荐包安装方式
DEBIAN_FRONTEND=noninteractiv apt-get --no-install-recommends install -y proxmox-ve会出现一个弹窗,请按下面的标记选择
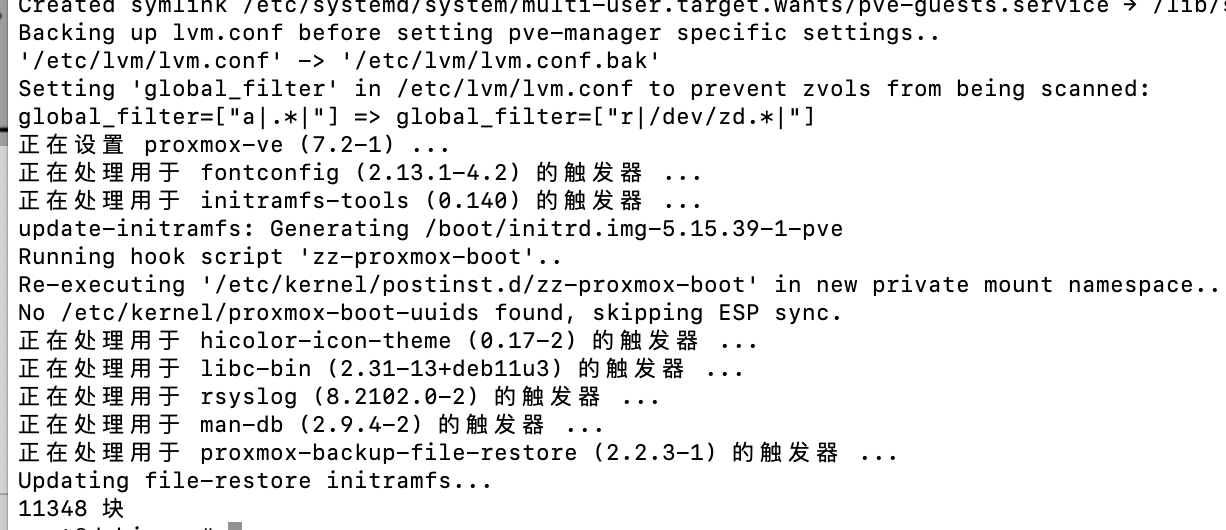
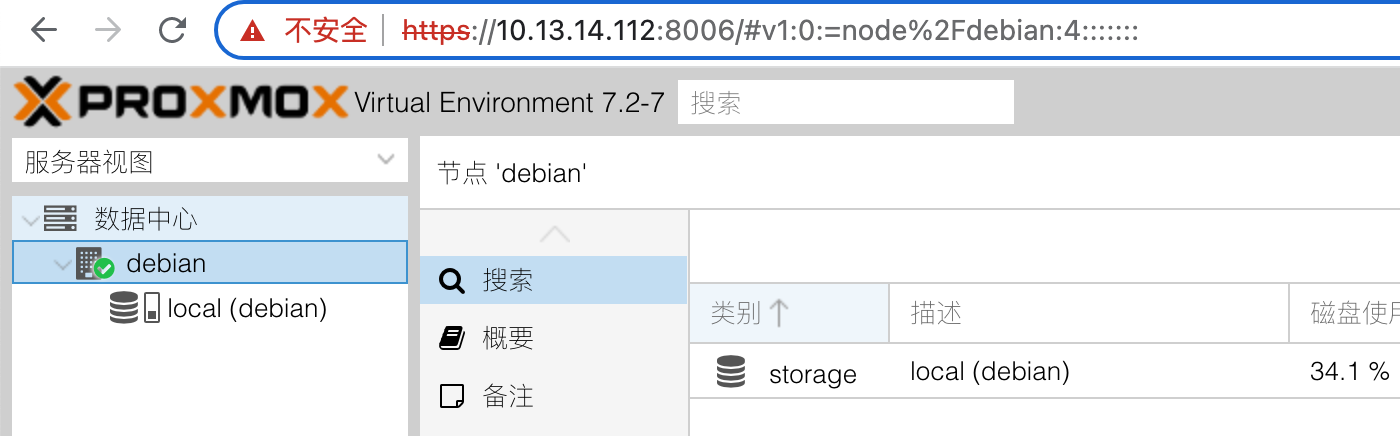
等上一段时间,安装结束之后,就可以访问pve
请问这个方式的安装和直接安装 PVE 比有没有性能差异或者能力差异?
有差异,默认pve的iso是全盘安装的;先装debian再手动安装pve可以再分区里面安装
所以这样就可以在一个硬盘中同时装windows和pve,然后用启动项启动不同的系统
既然安装成功了,谢谢[f=keai][f=qiang]
既然安装成功了,谢谢
这个能控制安装得pve版本吗
默认是安装的最新Proxmox VE